
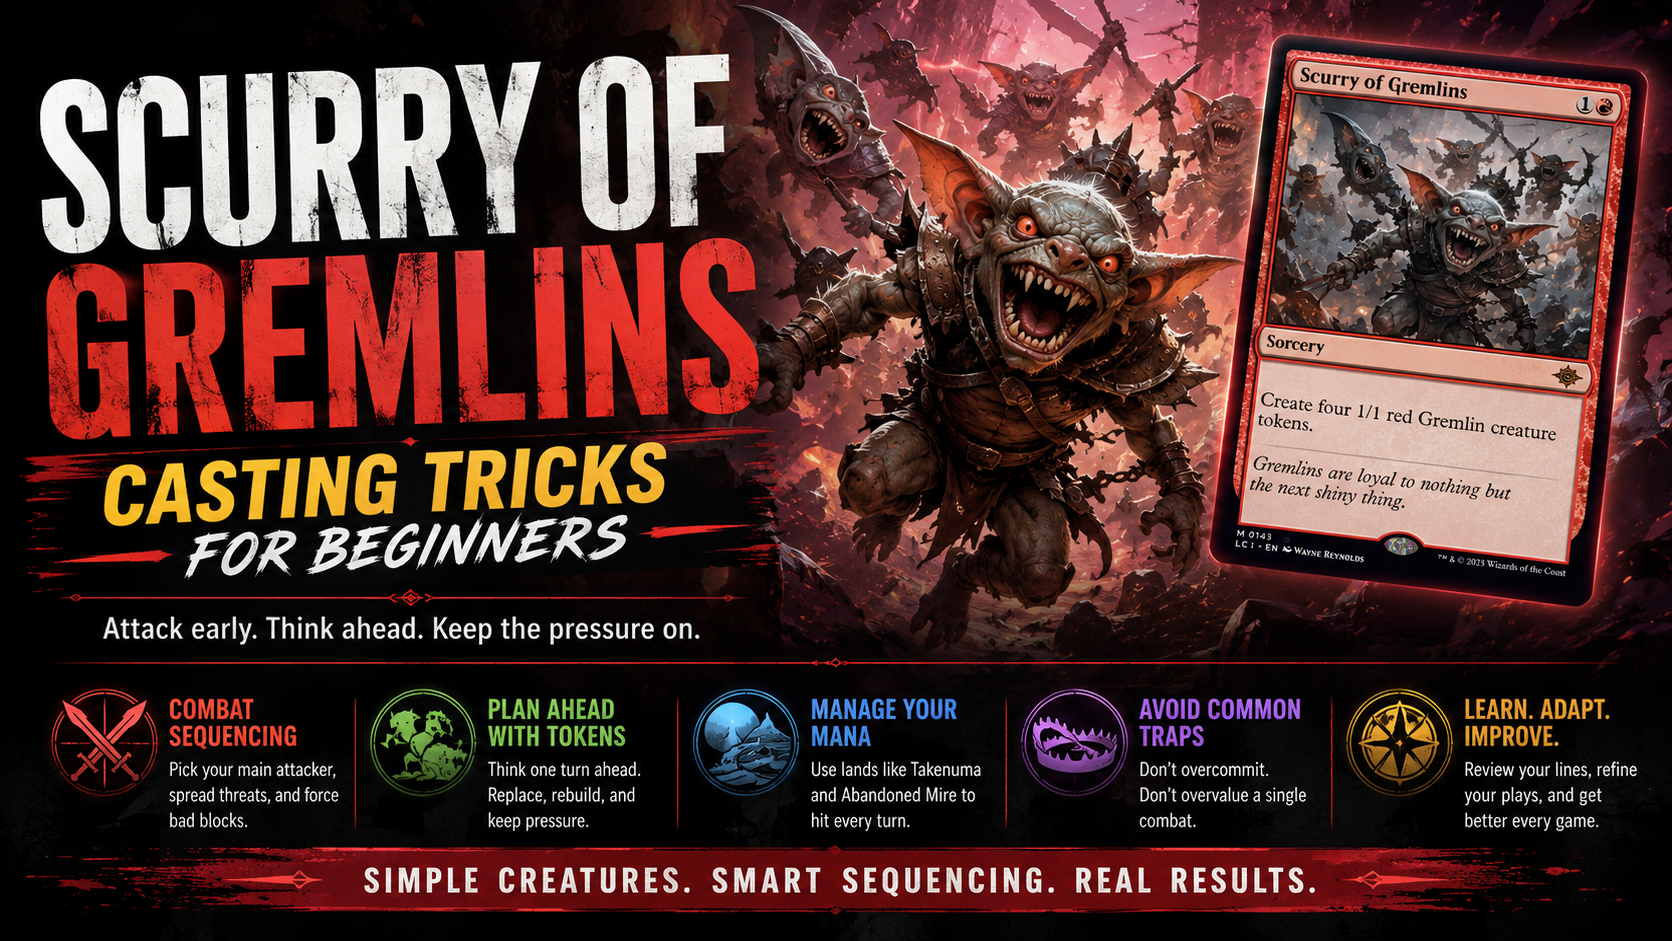
Modern Magic decks can feel like puzzles, but Scurry of Gremlins is refreshingly simple once you see the pattern. The goal is to turn cheap threats into real damage by casting, attacking, and leveraging token mileage before your opponent stabilizes. This beginner guide focuses on combat sequencing, turn planning around tokens, and the traps that often stop new players from getting full value.
If you’re learning how aggressive token strategies work, you’ll get practical steps you can apply immediately, even before you optimize card choices.
What Scurry of Gremlins Really Wants You to Do
The intimidation factor of some gremlin-themed cards comes from their “swarm” look, but the game plan is straightforward: deploy cheap attackers, attack early, and keep pressure consistent. Your sequencing should make your opponent pay for blocking while you gain additional value from board presence.
In practice, Scurry of Gremlins rewards you for thinking in turns instead of cards. Each turn should answer two questions:
- How much damage can I get now? (Immediate pressure)
- How will I keep attacking next turn? (Sustainment through tokens and favorable combat)
Expert takeaway: aggressive token decks win by forcing your opponent into bad math. If your creatures are cheap and replaceable, you can often trade resources better in combat—especially when your deck includes tools that benefit from the board being active.
Combat Sequencing: How to Attack Without Wasting Damage
Beginner players commonly cast spells, make attacks, and then wonder why blocks feel “unfair.” The fix is to build a combat sequence that accounts for blocks, removal, and the fact that tokens don’t enter the game in isolation—they’re part of your damage plan.
1) Decide your “main attacker” and “support attackers”
When you move to combat with multiple token sources, not all attackers are equal. Pick one creature (or token line) that you expect to deal the most meaningful damage if it survives a turn.
- Main attacker: the one you’re most interested in keeping unblocked (or forcing unfavorable blocks).
- Support attackers: the ones that make blocking costly by spreading out attackers or creating threats your opponent can’t answer efficiently.
Even if every token is “small,” your opponent’s willingness to block determines whether your damage sticks. Your job is to encourage blocking that benefits your follow-up turn plan.
2) Attack in a way that limits profitable blocks
If your opponent can block multiple attackers with the same creature and get value, you’re probably attacking in a way that gives them a clean trade. Instead, try to:
- Use extra bodies to “tax” their defense.
- Attack with enough simultaneous threats that they can’t remove all of them efficiently.
- Time your attacks so your opponent is more likely to tap out or spend resources.
Expert commentary: a common high-level approach is to attack so that your opponent must choose between taking damage or spending resources inefficiently. Tokens thrive when their presence turns a single blocking decision into a losing trade-off.
3) Don’t forget combat phases are information phases
Every attack is a chance to learn what your opponent has. If they have instant-speed removal, you’ll see it. If they have a surprise blocker, you’ll see it. Your future turns should reflect that revealed information.
When you keep attacking, you also keep decision pressure on them—making it harder for them to line up clean defenses.
Planning Turns Around Tokens: From Cast to Follow-Up
The strongest beginners learn to plan turns with a “chain.” Rather than thinking, “I cast a token card, then I attack,” think, “I cast in a sequence that makes my attack better and keeps my board relevant.”
Think one turn ahead: what happens if your token dies?
Tokens create a false sense of safety because they often get replaced. Still, you should assume your important attackers can be removed or blocked. Before committing to an attack, consider:
- If this token gets blocked: do I still have enough remaining bodies to keep pressure?
- If this token gets removed: can I cast another threat immediately?
- If my opponent stabilizes: do I have a plan to push damage anyway?
This is where understanding your mana and your ability to keep casting matters.
Land sequencing matters: Takenuma and Abandoned Mire
Gremlin token pressure is mana-sensitive. If your lands arrive late or enter tapped at the wrong time, your whole combat chain falls apart. For decks featuring Takenuma and Abandoned Mire, prioritize a plan that gets you casting threats on schedule.
Practical use cases:
- Takenuma: leverage it to support mid-game grind while still maintaining early presence. In a token plan, you want lands that don’t force you to miss key turn windows.
- Abandoned Mire: use it to smooth mana and keep your early game consistent. Consistency is what keeps attacks coming.
Expert commentary: aggressive decks often lose to “mana grief”—not because they run bad cards, but because they spend too many turns doing nothing. Your token strategy should be designed so that every turn has a meaningful action.
Build your casting order to protect your attack
In token strategies, the order you cast matters. If you have multiple cheap threats, casting the threat that pressures the opponent’s defense first can cause them to respond in suboptimal ways. Then your later cast(s) can refill the board after their initial defense.
Beginner rule of thumb:
- Cast your threat that creates the most immediate pressure.
- Use token follow-up to keep the board presence after blocks and removal.
- Only hold spells if you’re sure you can maintain tempo (or if the matchup rewards it).
When in doubt, remember that a token deck’s “engine” is often its ability to continue casting threats, not a single card resolving.
Common Beginner Mistakes and How to Fix Them
If you’re feeling like you “almost” get there with Scurry of Gremlins, the problem is often repeatable. Here are the most common mistakes and what to do instead.
Mistake 1: Attacking before you’ve decided your follow-up
Attacking is not just about damage now—it’s about the damage you get later. If you spend your entire board in one combat and have no way to continue, your opponent stabilizes and turns the game into a cleanup job.
- Fix: count your threats and your next cast. If you can’t maintain pressure, consider sequencing earlier turns to avoid a “one-and-done” board.
Mistake 2: Trading tokens too efficiently for the opponent
Not all blocks are equal. Sometimes your opponent would rather block with a low-impact creature than take damage. If you present a single tempting blocker line, they’ll take it and you’ll end up behind.
- Fix: spread attackers so the opponent can’t block everything with one or two creatures. Force them into difficult choices.
Mistake 3: Wrong land timing and missed windows
Token decks punish you for being one turn late. Lands like Abandoned Mire and support from Takenuma should help you hit your casting curve while still contributing to your longer game plan.
- Fix: practice with a simple checklist: “Can I cast my key threats on turn X?” Keep your land sequencing consistent.
Mistake 4: Overvaluing a single combat trick
Token strategies win over multiple combats. If you hold cards hoping to “perfectly” swing once, you may give your opponent time to prepare.
- Fix: think in terms of pressure. Sometimes the best play is the one that keeps your board active—not the one that maximizes a single turn’s damage.
Mistake 5: Ignoring matchup structure (especially against control)
Against decks with lots of removal, you need to understand that your plan is still to attack—just more carefully. If your opponent can remove every token as it appears, your threat density must increase, or your turns must be structured to bait and punish.
Expert commentary: your “gremlins” aren’t just creatures; they’re pressure and leverage. Even if some tokens die, the point is to make your opponent spend resources inefficiently.
Where to Learn the Shell: Lorehold Spirit and the Commander Mindset
Even if you’re playing a different format, commander precons can teach valuable sequencing habits. The Lorehold Spirit (Secrets of Strixhaven Commander Precon Decklist) offers a useful lens for beginners: how to think about tempo, board development, and combat plans in a shell that wants its creatures to do work.
Use it as a teaching reference for:
- Combat development: how you build board presence before your big turns.
- Resource planning: how to keep casting threats rather than stalling out.
- Value through creatures: focusing on creatures that keep contributing, even when removed.
How this connects back to Scurry of Gremlins: the gremlin game plan is fundamentally about consistent creature pressure and turn-by-turn combat decisions. Whether your “engine” is tokens or creature synergies, the sequencing principles remain the same.
Practical use case: if you’re unsure how aggressive token turns should feel, play out small “test chains.” On each turn, decide what you cast, what you attack with, and what you expect your opponent to do. Over a few games, you’ll start seeing the right combat math naturally—especially once you recognize that every attack is designed to shape the opponent’s defense.
Conclusion: Start Small, Attack Confidently, and Improve Your Lines
Scurry of Gremlins isn’t a mystery—it’s a disciplined strategy. Get cheap attackers onto the battlefield, sequence your combat so your damage is hard to fully answer, and plan your next turn while your current one is still unfolding. When your lands and casts are consistent—supported by thoughtful choices like Takenuma and Abandoned Mire—your token plan becomes a real clock, not a pile of creatures.
If you want to level up quickly, take your next few games and focus on one improvement at a time: main attacker selection, attack distribution, or land timing. Then review your losses—especially the moments you attacked without a follow-up. Ready to practice? Queue up a game, run your gremlin plan boldly, and track how each turn’s sequencing changes your damage output.